Introduction of this Blog Post about Figma
In the ever-evolving digital design landscape, Figma has emerged as a frontrunner, offering a collaborative platform that transcends geographical boundaries. If you’re new to Figma and eager to harness its capabilities, you’re in the right place! In this comprehensive guide, we’ll walk you through the step-by-step process of creating your very own Figma account and provide insights into exploring its myriad features.
In this article, I will walk you through all the step-by-step tutorials and guides to create your first account on Figma; one of the best platforms to be a Pro designer.
Step 1: Navigate to the Figma Website
In the beginning, start by launching your preferred web browser and navigating to Figma’s official website at www.figma.com. The homepage is designed to be clean and user-friendly, providing an inviting introduction to the world of collaborative design.
On the other hand, you are chosen to support your influencer to go through the affiliate link which directs your browser to the Figma website. Make sure both ways are effective and you are determined to pick the one that eases you.
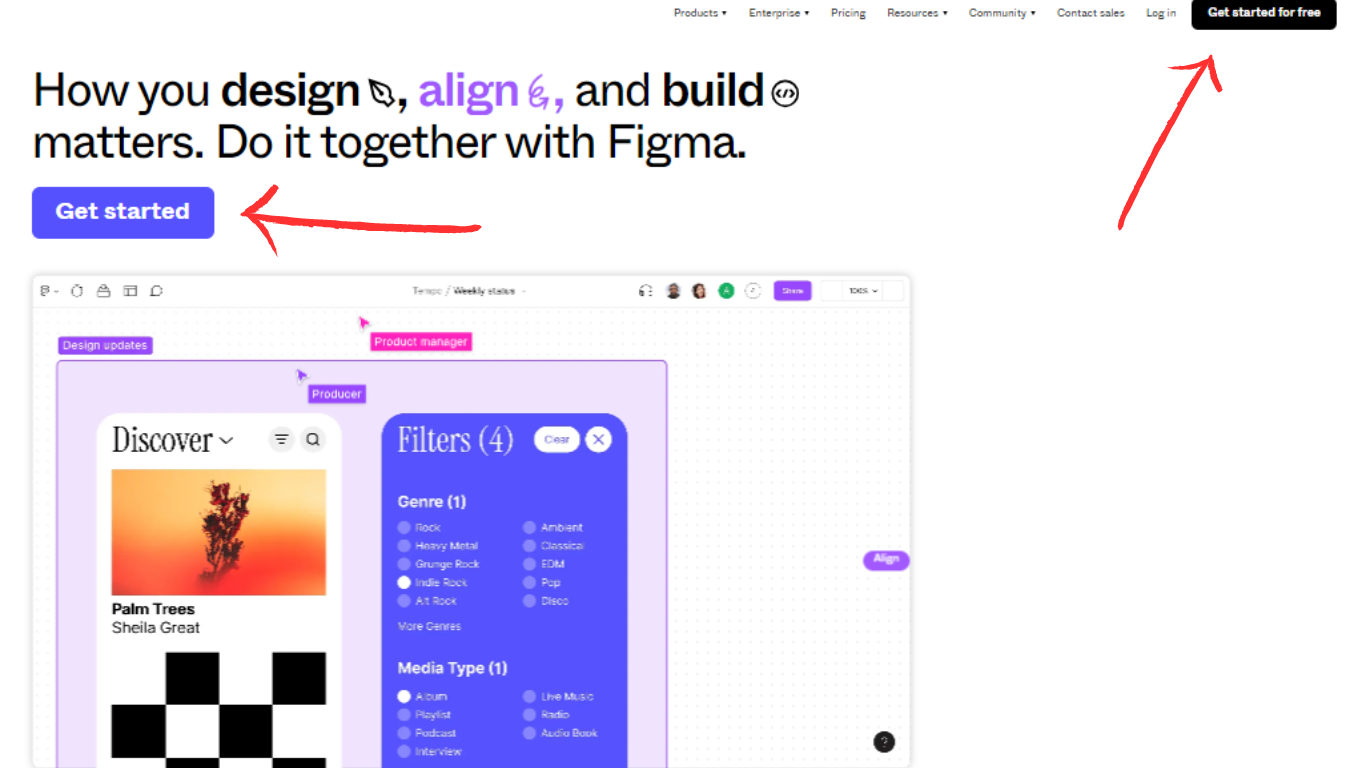
Step 2: Choose Your Sign-Up Method
In step number 2, you have to Locate the “Sign Up” button in the homepage’s top right corner. Figma offers two convenient sign-up methods: via Google or by using your email address.
- Signing Up with Google: Click on the “Continue with Google” button to link your Google account seamlessly with Figma. This simplifies the login process and streamlines your experience.
- Signing Up with Email: Opt for the “Continue with Email” option if you prefer using your email address. Enter your email and create a secure password. Once done, click “Sign Up” to proceed.
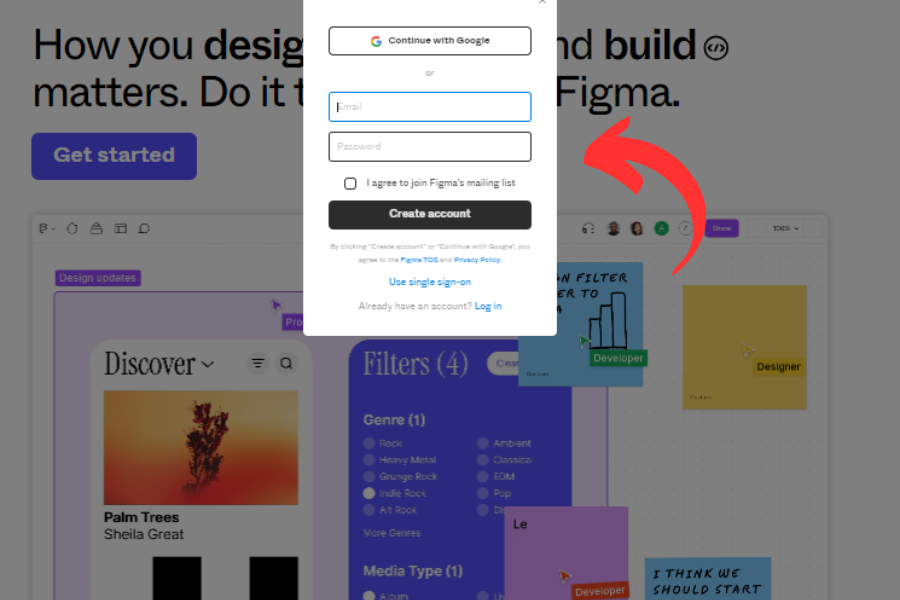
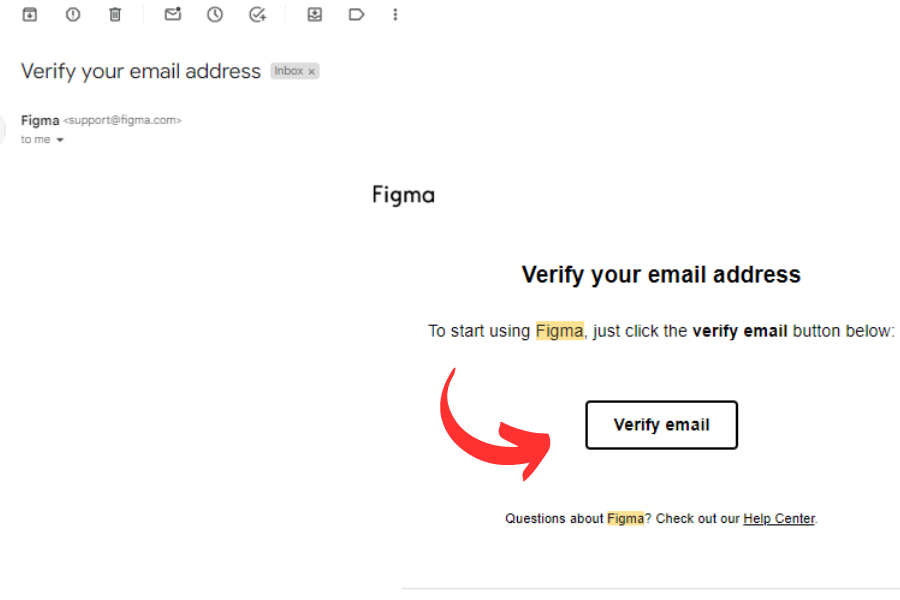
Step 3: Verify Your Email Address
The third step is as usual when you sign up at every website, you are required to check the email that has been sent to you. Again, following this step successfully, Upon easy sign-up, Figma will send a verification email to the address you provided. Navigate to your email inbox, open the email from Figma, and click on the verification link. This crucial step enhances the security of your account and finalizes the registration process.
Step 4: Personalize Your Profile
After email verification, Figma prompts you to personalize your profile. Therefore, in step 4, you will be able to add a profile picture, enter your full name, and choose a unique username. A well-crafted profile enhances your identity on the platform and helps collaborators recognize you in shared projects.
Step 5: Explore Figma’s Features
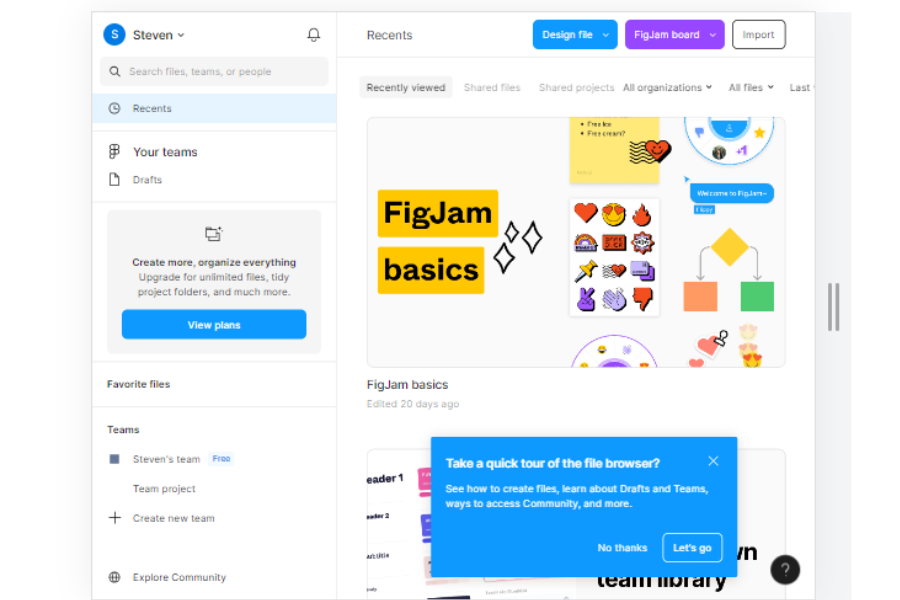
After finishing step number 4, you will get this message: {Congratulations! You’ve successfully created your Figma account}. So now, take a moment to explore the platform and delve into its extensive features. Familiarize yourself with the dashboard, experiment with creating new projects, and discover the collaborative magic that Figma has to offer.
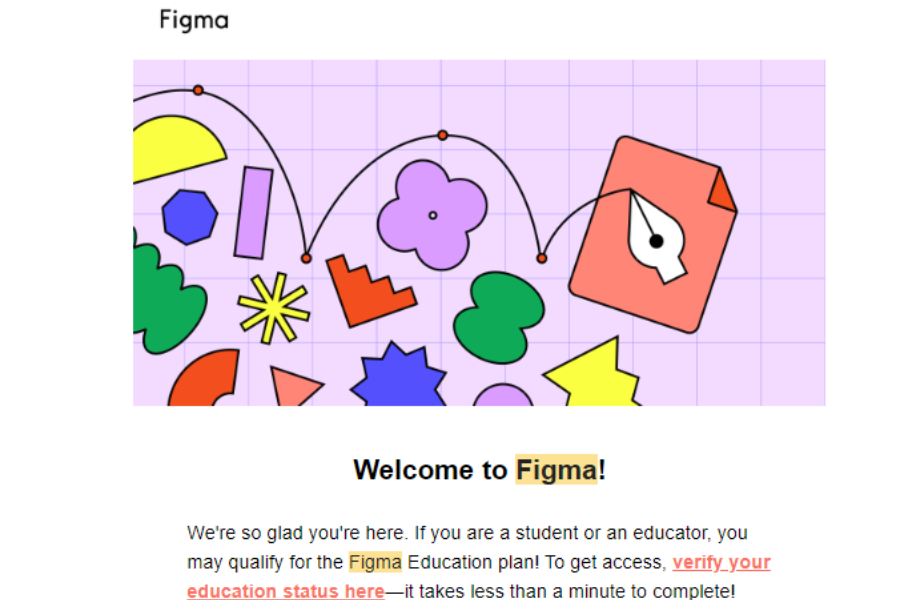
Step 6: Dive Deeper into Figma’s Capabilities
Finally, as you explore Figma, you’ll find a plethora of features designed to streamline your design workflow. Dive deeper into components, styles, and collaborative tools. In addition, don’t forget to explore Figma‘s powerful prototyping capabilities and understand how design elements come together seamlessly in a shared environment.
Conclusion: Summarizing All 6 Steps about Figma’s Singing-up
Creating a Figma account marks the first step on your journey to unlocking a world of collaborative design possibilities. Whether you’re a seasoned designer or just starting, Figma’s intuitive interface and robust features make it a valuable asset for any project.
Now that you’re all set up, immerse yourself in Figma, experiment with its features, and start bringing your design ideas to life with newfound efficiency and creativity. Happy designing!
Read more about Figma Designing.

